A lot of people have asked me how I make my handmade envelopes like the one used below:
(via)
Honestly, it's a LOT more simple than you would think! Hopefully this tutorial will help you figure out how to create your own envies!
Kay's Envelope Tutorial
Materials:
- paper of your choice.
- scissors.
- glue stick or other sticky substance.
- writing utensil.
- ruler.
- hard surface.
- envelope that has been taken apart.
Now, about the 'envelope that has been taken apart' bit. You can literally use any envelope you want. You can print out a template, create your own, buy a stencil....But I choose to just take apart existing envelopes. I find that it gives me a wide variety of shapes and sizes to choose from, plus, it's free! The key is to VERY carefully feel the envelopes apart. It's a serious pain when there is even the smallest chunk of paper missing, especially when you begin the tracing process.
First, you want to position the paper of your choice on your hard surface. Make sure that you place your template on the BACK of the paper so that your tracing marks do not show on the patterned side or the side that you want to see. I chose the large book that I pulled the paper of my choice out of. I managed to find a GIANT book of Anne Geddes photos that is PERFECT for envelope making! All you need is a page large enough to accommodate your envelope template.
Next, you will begin tracing the envelope onto the paper. Make sure that the envelope does not move, otherwise it will be difficult to fold because your tracing won't line up with the correct folding sections. I have found that the best writing utensil is a pencil, however I do often use a ballpoint pen or very thin Sharpie pen. You should end up with something similar to this:
And now...THE CUTTING! Make sure to be as exact as possible. It really makes a difference when you are folding the envie. I use scissors, but you can also use an Xacto blade if you find that easier.
The finished product after cutting:
You are nearly there! Now, it is time to fold! There are two ways to do this. If you aren't confident about free-hand folding, you can use a ruler like I have shown below. I have been making envelopes for quite some time now, so free-handing it is super easy for me. Eventually, you get there, I promise! The folding process is pretty self explanatory, but I've included step by step photos form you anyways. :)
Fold the side flaps:
Here, both side flaps have been folded inward:
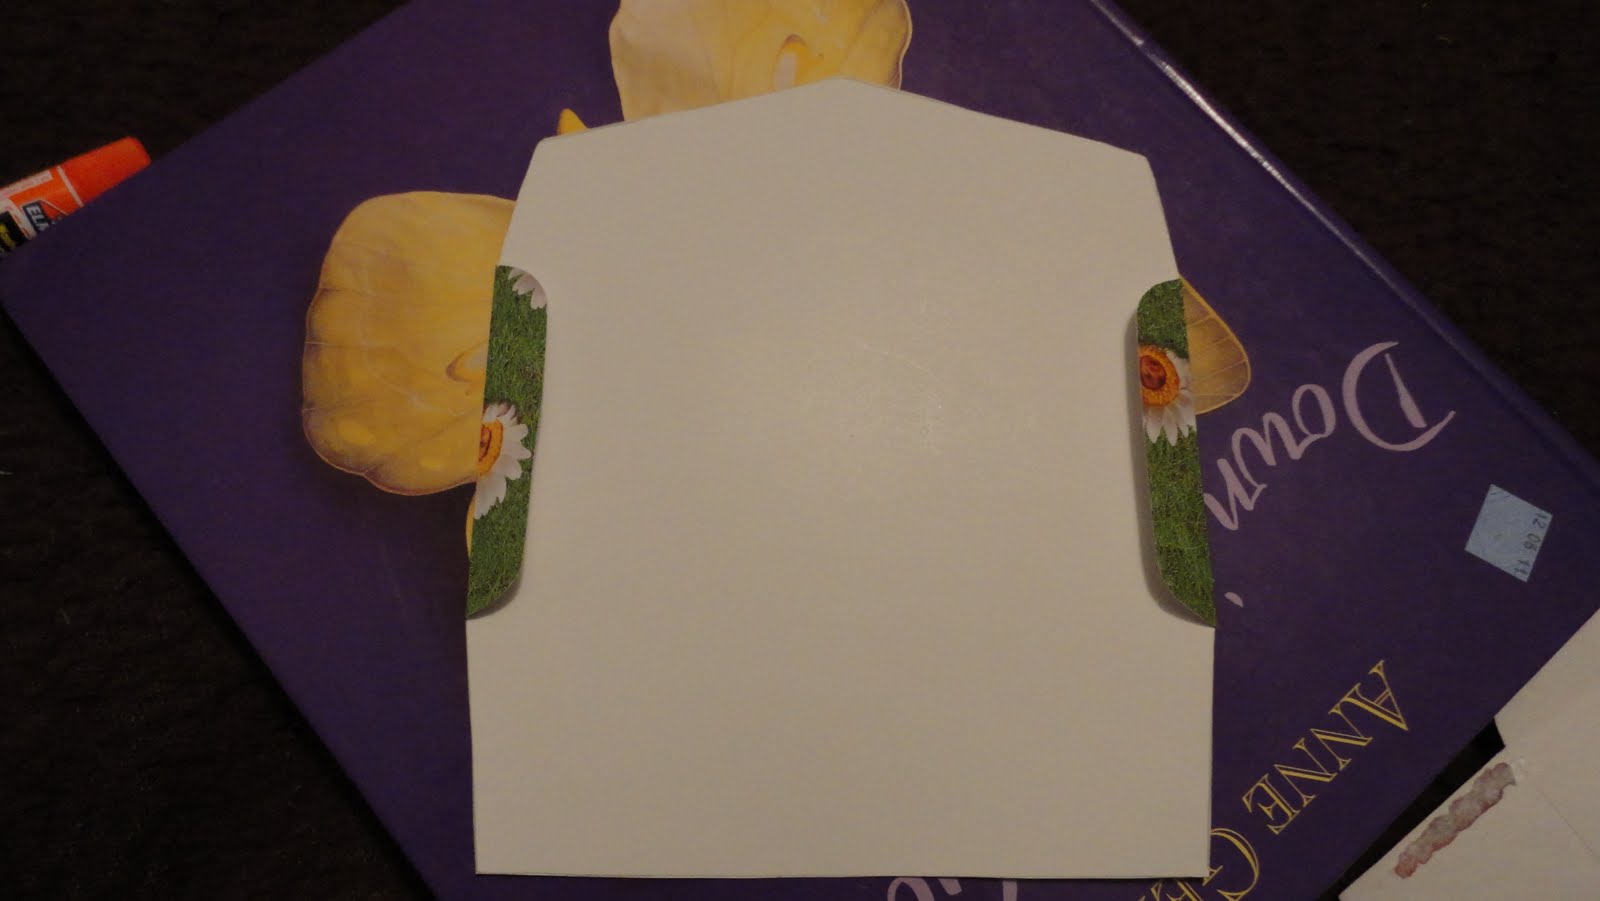
Once you have finished folding the sides, fold the bottom. I always go in this order. Sides, bottom, top. If you find something else easier, go for it!
And now the top!
So, you've folded everything. What now? Sticking time! Place a strip of glue on the side flaps making sure not to glue in the areas that the bottom flat will not cover. Once you've applied the glue, simple press the bottom flat to the side flaps! Make sure that you pay attention to the original folding order (bottom flap or side flaps or side flaps of bottom flap etc.)on the template/deconstructed envelope you used for tracing.
I choose to use regular old glue sticks to stick the sides together and when I use my envelopes for personal use, I seal them with either regular tape or glue stick. It's a bit different when I am crafting them for other people. I prefer to line the top flap with a few strips of double stick tape (the type where you peel the paper off.) to allow for easier sealing.
And TA-DAHHHH! The finished product!
See? It's easy! Now you try! I would love to see photos of your results! Comment with photos if you can!
Wednesday, December 21, 2011
HUGE post!
Wow, this is going to be a big one! First of all, since my brother has allowed me to use his camera, I am going to re-do my envelope tutorial. It looks a bit...ehh. Anywho, I got some GREAT mail today and a few other things! I went to Good Will today and I was searching for some crafting supplies when I found THIS! It's a MASSIVE Anne Geddes photo-type book! It's perfect for making envelopes! I think I'm going to begin tracing tonight, haha.
Another thing I received today was a beautiful new journal! One of my closest friends from way back in high school is here in town for the holidays (her parents live here still.) and she gave me this for Christmas! She wrote the sweetest note, too. Made my heart melt! I was the one who gave her a journal, her first journal, and I guess doing so inspired her to write! In her note, she said she wanted to repay me for the inspiration I gave her. Isn't it gorgeous! I loooove Europe, and I had a chance to visit Italy, so naturally, I'm in love with it. I could trace all of the places I've been to on the back cover!
For today's mail, I sent these guys out. Well, I sent one, but the other is going to be sent tomorrow. Scooter helped as well. ;)
One to the lovely Jennifer over at Snail Mail, and life's tiny details:
Nest is one that will be going out to Rin over at: Papered Thoughts. You can also check out her Etsy shop, too!
Here are the goodies I enclosed for a mail-arty surprise!
I loved the stickers I used in her letter, too. Sparkly and puffy! What could be better?
And now for my awesome incoming mail!! Today was a fantastic mail day for me. :)
Bee from Czech Republic sent me such a wonderful letter, postcard, and a little gift for Christmas!
She hand drew everything, too!
Adorable Czech Christmas postcard!
How cute are the hair clips she sent? I am a HUUUUGE hair accessory person!
And of course, I have to post the stamps!
Onward, march! This next one is from the lovely Noora from Finland! She just had a baby girl! They've named her 'Vera Joanna'. Cute, no? Noora sent me a fantastic Moomin-ey envelope!! And so many goodies! Noora really spoiled me!
Check out the stamps and decoration!
This sticker was on the back. I'm pretty sure it's from the stamp booklet. :)
This was something interesting...I've never seen someone besides myself use the little stickers that separate stamps in the booklet as decoration! For all you mail-arters, use 'em! It's sort of like recycled deco-tape strips!
Here are all of the goodies she sent!
A cute Santa postcard!
And all these cute goodies!
Moomin stickers!!!
Letter-writing goodies!
Up next is the lovely Ariadna from Espana! Here envelope was really neat. Lots of washi decorations! Oddly enough...no postage! And it made it to the US no problem!
She even used washi tape and deco tape on her letter! I really want to get some washi tape, but it's rather expensive!
She even sent cute gifts! A cute sticker and an adorable eraser!
OH! I almost forgot! The Santa Claus Christmas card!
Well, I'm going to sign off now! I have a new, WAY better envelope tutorial to make!
Over and out!
Another thing I received today was a beautiful new journal! One of my closest friends from way back in high school is here in town for the holidays (her parents live here still.) and she gave me this for Christmas! She wrote the sweetest note, too. Made my heart melt! I was the one who gave her a journal, her first journal, and I guess doing so inspired her to write! In her note, she said she wanted to repay me for the inspiration I gave her. Isn't it gorgeous! I loooove Europe, and I had a chance to visit Italy, so naturally, I'm in love with it. I could trace all of the places I've been to on the back cover!
For today's mail, I sent these guys out. Well, I sent one, but the other is going to be sent tomorrow. Scooter helped as well. ;)
One to the lovely Jennifer over at Snail Mail, and life's tiny details:
Nest is one that will be going out to Rin over at: Papered Thoughts. You can also check out her Etsy shop, too!
Here are the goodies I enclosed for a mail-arty surprise!
I loved the stickers I used in her letter, too. Sparkly and puffy! What could be better?
And now for my awesome incoming mail!! Today was a fantastic mail day for me. :)
Bee from Czech Republic sent me such a wonderful letter, postcard, and a little gift for Christmas!
She hand drew everything, too!
Adorable Czech Christmas postcard!
How cute are the hair clips she sent? I am a HUUUUGE hair accessory person!
And of course, I have to post the stamps!
Onward, march! This next one is from the lovely Noora from Finland! She just had a baby girl! They've named her 'Vera Joanna'. Cute, no? Noora sent me a fantastic Moomin-ey envelope!! And so many goodies! Noora really spoiled me!
Check out the stamps and decoration!
This sticker was on the back. I'm pretty sure it's from the stamp booklet. :)
This was something interesting...I've never seen someone besides myself use the little stickers that separate stamps in the booklet as decoration! For all you mail-arters, use 'em! It's sort of like recycled deco-tape strips!
Here are all of the goodies she sent!
A cute Santa postcard!
And all these cute goodies!
Moomin stickers!!!
Letter-writing goodies!
Up next is the lovely Ariadna from Espana! Here envelope was really neat. Lots of washi decorations! Oddly enough...no postage! And it made it to the US no problem!
She even used washi tape and deco tape on her letter! I really want to get some washi tape, but it's rather expensive!
She even sent cute gifts! A cute sticker and an adorable eraser!
OH! I almost forgot! The Santa Claus Christmas card!
Well, I'm going to sign off now! I have a new, WAY better envelope tutorial to make!
Over and out!
Tuesday, December 20, 2011
Christmas gifts!
This is all a bit random, but I am just too excited! This year, I couldn't afford Christmas gifts and even if I could, I didn't want to buy my family what I normally do. A wallet, lego set, Play Station 3 game, and Bath and Body Works, soooo...I got a bit creative! It kind of all started when I went to pick up my dad from his old office and nearly threw up when I saw the 8 x 10" portrait of myself...IN 8th GRADE! Terrible! I immediately knew that new portraits would be an awesome idea. My mom had been avoiding JCPenny portrait studios like the plague, and for good reason. Anywho, I had one of my close friends, an amazing photographer, take portraits of all of us for gifts! I just got the finalized ones back and I wanted to share them! They came out so great! I was super surprised because anyone who knows anything knows how difficult it is to control a 10 year old and 16 year old without strangling one/both of them!
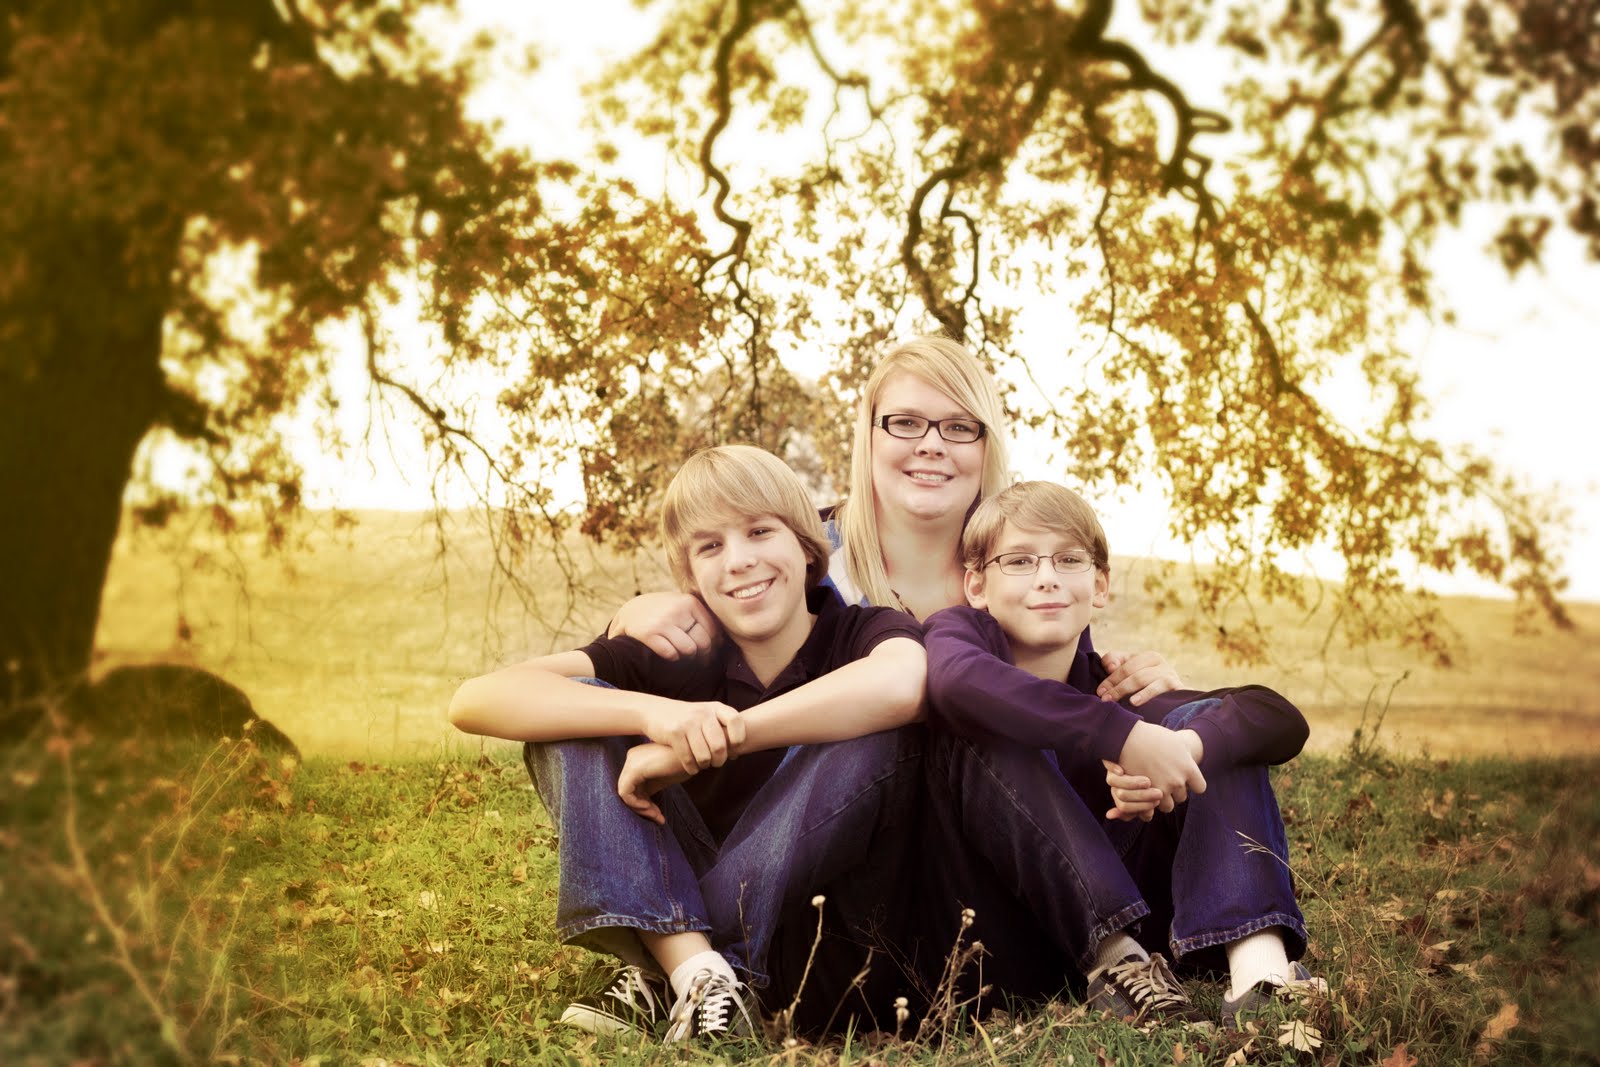
This is the one of all three of us that we ended up getting printed. The boys REALLY enjoyed dog-piling on me. Perhaps a little bit too much.
These were the other group shots:
This was a favorite! Hehe.
And here are the boys!
My youngest brother, Matthew:
And Christopher, the 16 year old:
I think they came out awesome!
OH! and myself!
This is the one of all three of us that we ended up getting printed. The boys REALLY enjoyed dog-piling on me. Perhaps a little bit too much.
These were the other group shots:
This was a favorite! Hehe.
And here are the boys!
My youngest brother, Matthew:
And Christopher, the 16 year old:
I think they came out awesome!
OH! and myself!
Subscribe to:
Posts (Atom)


